Report | How do I create a client report using the Xport Tool?
Xport is a tool in XPLAN that can be used to extract large amounts of data fromXPLANto generate clear, straightforward management reports.
Please note: The following capabilities will be required to manage this section.
| Xport Extraction Tool Administration | Access the Xport extraction tool to design CSV or PDF extracts. |
| Xport Extraction Tool Execution | Access existing Xport reports to produce CSV or PDF extracts. |
| Xport Extraction Transfer | Access to use the Transfer functionality to move reports between users. |
To create your own Xport reports:
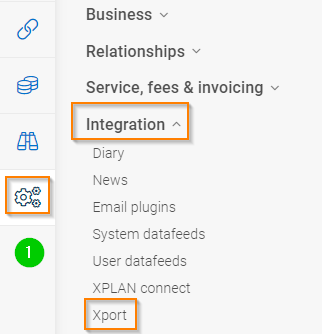
1. Click on ![]() then Integrations --> Xport
then Integrations --> Xport

2. Click on Add Report
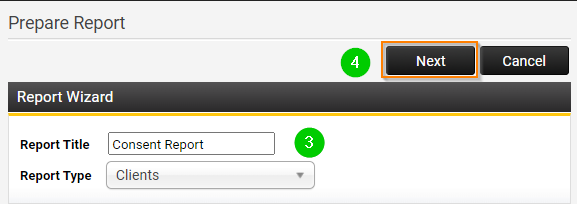
3. Enter a name in the Report Title.
With the Report Type, this is going to be the main "Data Source" of the Xport Report, and the main one to use is Clients. Multiple data sources can be added later and will be explained further in this article.
4. Click Next
Data Sources
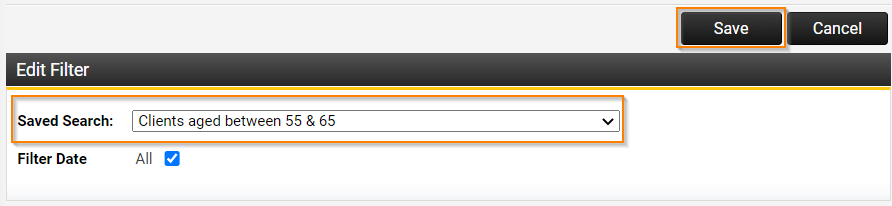
The Data Source of Clients will default to report and search on all listed clients. If you want to filter down the list of clients to report against a specific group of clients, you will need to link a Saved Search which can be selected in the Data Sources section through the ![]() symbol. Refer to Article How do I create a new Advanced Search Criteria? on how to create a Saved Search.
symbol. Refer to Article How do I create a new Advanced Search Criteria? on how to create a Saved Search.

Headers
The Headers section is optional. It is only used for PDF reporting. It allows the report data to be sorted into groups by a field such as the client adviser field.

Sorting
The Sorting section allows the report data to be ordered alphabetically or numerically by a field such as the entity name field.

Columns
In the Columns section click add column to select the fields that you want to include in your report.

5. Click on Add Column to enter in fields to report on.

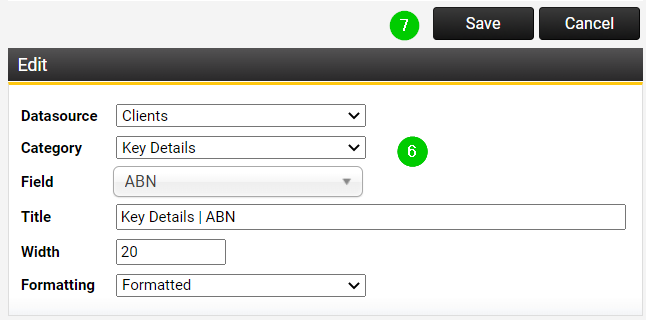
6.
Data Source - Since we only have one, this will remain as Clients however if multiple data sources are added, if selected as the source it will alter the remaining options.
Category - Determines the Field options, main one to use for general Client Information is Key Details. Another common one to use would be Contact which as it suggests stores all the clients contact details fields.
Field - This will be the Field name based on the Category chosen. To select your field, just click on the dropdown and you can search for the field you want to add
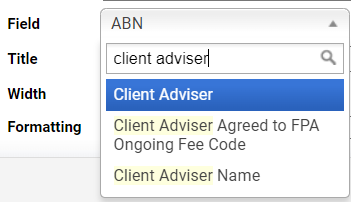
Title - This will be the name of the Column heading, it will default to displayed convention based on the Field you have chosen. You can change this to display as whatever you like.
Width - Will determine how wide the column will be when it produces
Formatting - Recommended option is to choose Formatted which will produce the face value of the Field as it appears in Xplan. Unformatted will produce the raw value of the field and more often than not will not be the same as the face value in Xplan.
7. Click Save
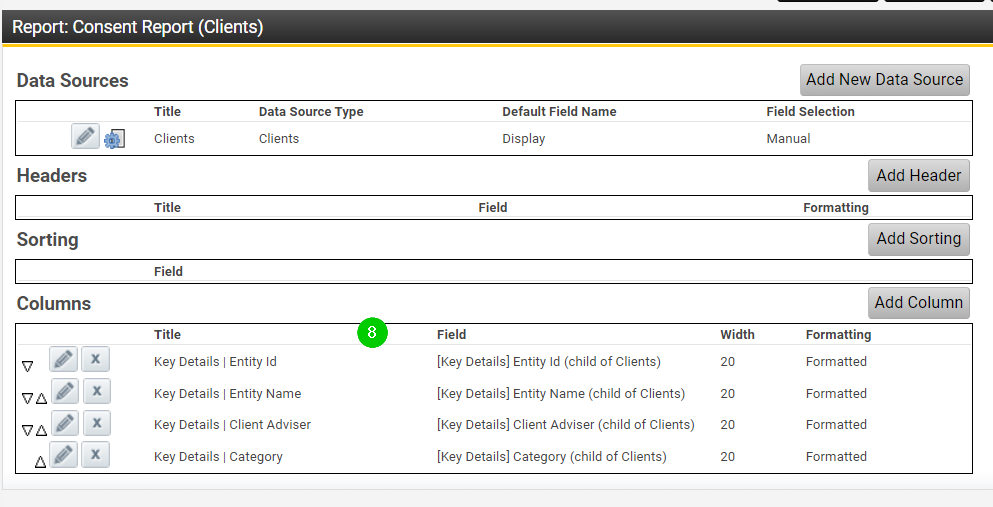
8. Repeat steps 5-7 for each Column/Field you would like to produce. Below is an example of a basic information that can be extracted.
Example Xport Report with an extra datasource
Below is an example of a common report that can be built using an extra Data Source. This will show the clients Opt-In/Consent information entered in Xplan.
As the consent information is under a different data source, we can add this to the same Xport Report
9. Click on Add New Data Source

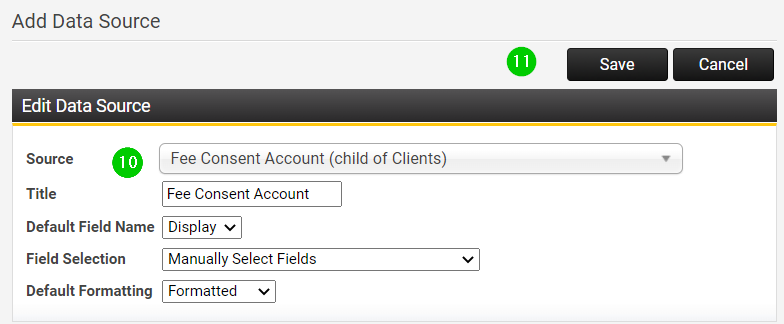
10. The Source for pulling the Fee Consent Information through is Fee Consent Account. Leave the remainder of the options as is.
11. Click Save
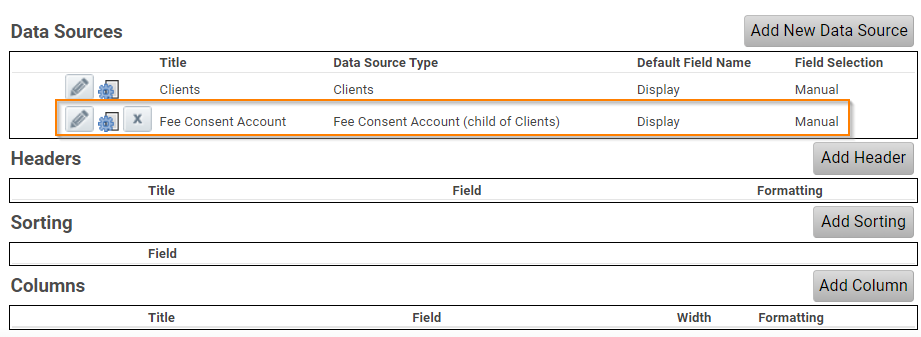
The new Data Source will site underneath the main one
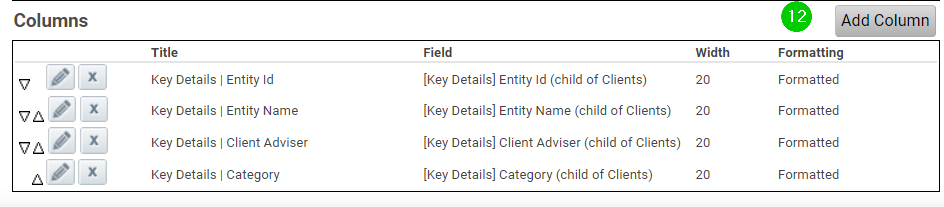
12. If we click on Add Column the new Data Source will be available to select
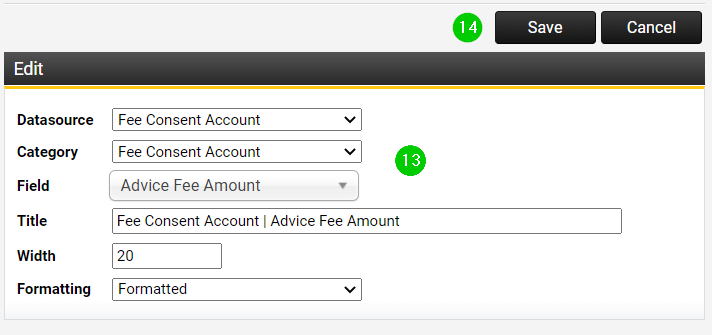
13. Change the Datasource to Fee Consent Account and complete the remaining options as needed.
14. Click Save
15. Repeat steps 12-14 for each Column/Field you would like to produce under this new Datasource. Below is an example of the final list of fields to be reported with all the required fields under the second datasource
16. Click Save

Final Steps and other functions
Once you have saved the Xport, you will need to make sure it is visible to your group. You will need to click on  for the Visible By column at the very least, otherwise it will only be visible to the user who created this report. Editable By is at your discretion as this will determine who can edit the report.
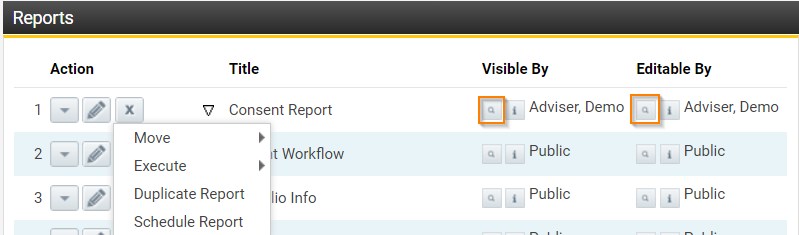
Move - You can position the report in the list to your choosing. This will only apply at a user level and will be different for each user.
Execute - Produces report in selected format
You can also copy/Duplicate Report (depending on the Editable By permission settings of that report) if you would like to edit an existing one with minor changes to save as a new one so you dont have to enter in all the fields again.
Schedule Report - Similar to the setup of How can I automate a recurring report? the report can be scheduled to run on a regular basis.