File Note | How do I add a single file note or to multiple clients in bulk?
Single File Note
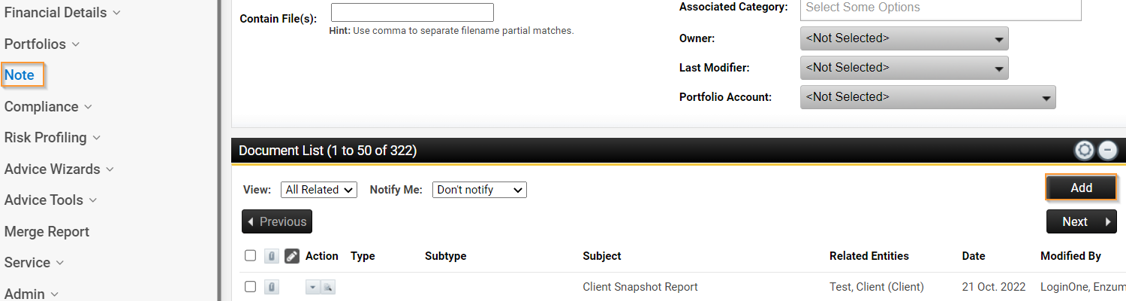
- From within the client record navigate to the file note or notes page (depending on the layout of your XPLAN site this may be on it's own page or under a page such as Admin or Workflow)
- Click Add to add a new note
- You can then load from the Template option if you have file note templates set up or you can begin to type in your file note
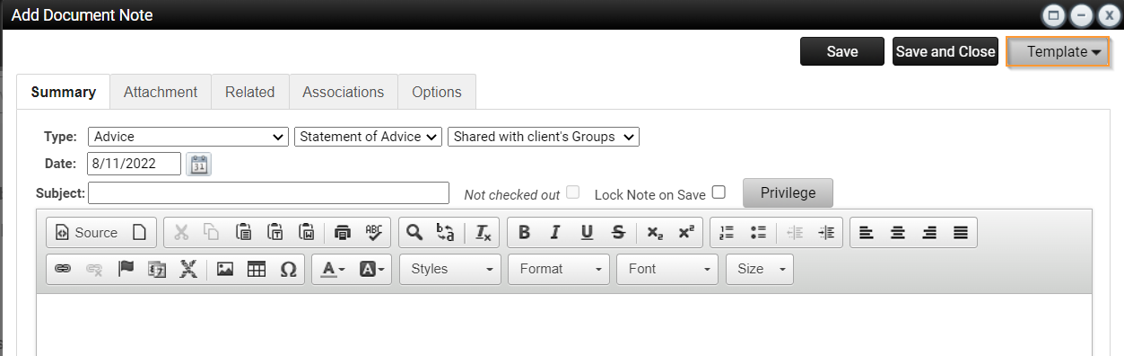
- On the Summary Tab, select the Note Type and subtype and complete the Subject Line.
- Set the permissions. The permission may differ depending on how your practice and site is set but generally a client file note should be set with the permission to 'Share with Client's groups'
- On the Attachments tab you can upload any attachments related to the file note
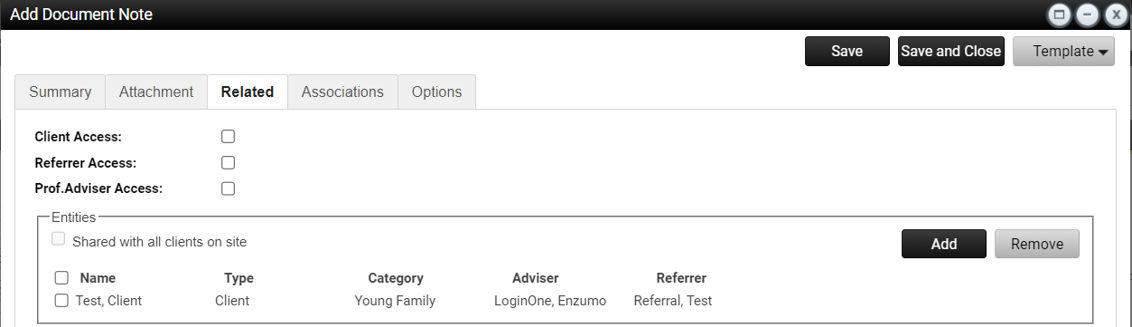
- On the related tab you can select to add the same note to additional clients, or set if the note will be visible to the client through Client Access
- Under options you can choose to activate a thread or case if needed
Bulk File Note
List the client's you want to add the note to by using the filters or an advanced search
Select individual clients to add the note to by ticking them or select all
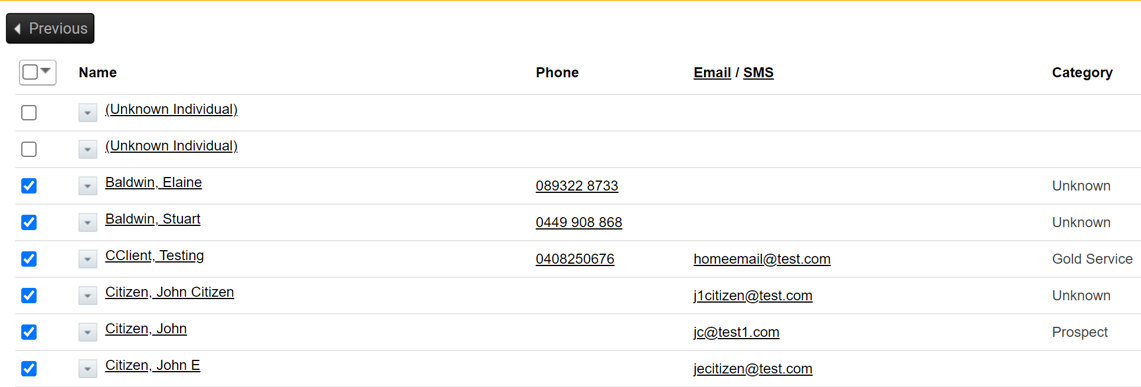
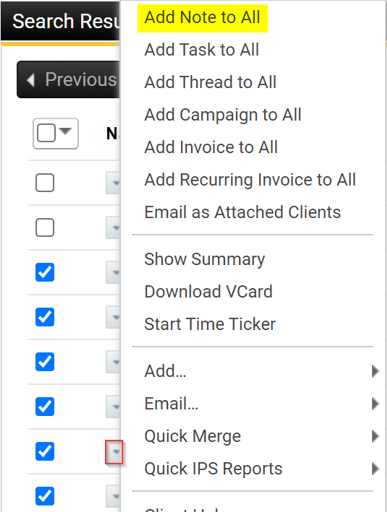
Click on the arrow next to the client’s name and select Add Note to All
Enter your file note details as you would normally and save
Note: When you add a file note in bulk, any change made to the note against any client after it is saved will be replicated across all clients.